Products
Three-in-one LED Video Processor HD-VP210
Product Specifications
Video processor HD-VP210
V1.0 20190227
Overview
HD-VP210 is one powerful 3-in-1 controller which integrated the function of one single-picture video processing and one sending card.
Features:
1). Control range: 1280W*1024H, widest 3840, highest 1920.
2). Seamless switching of any channel;
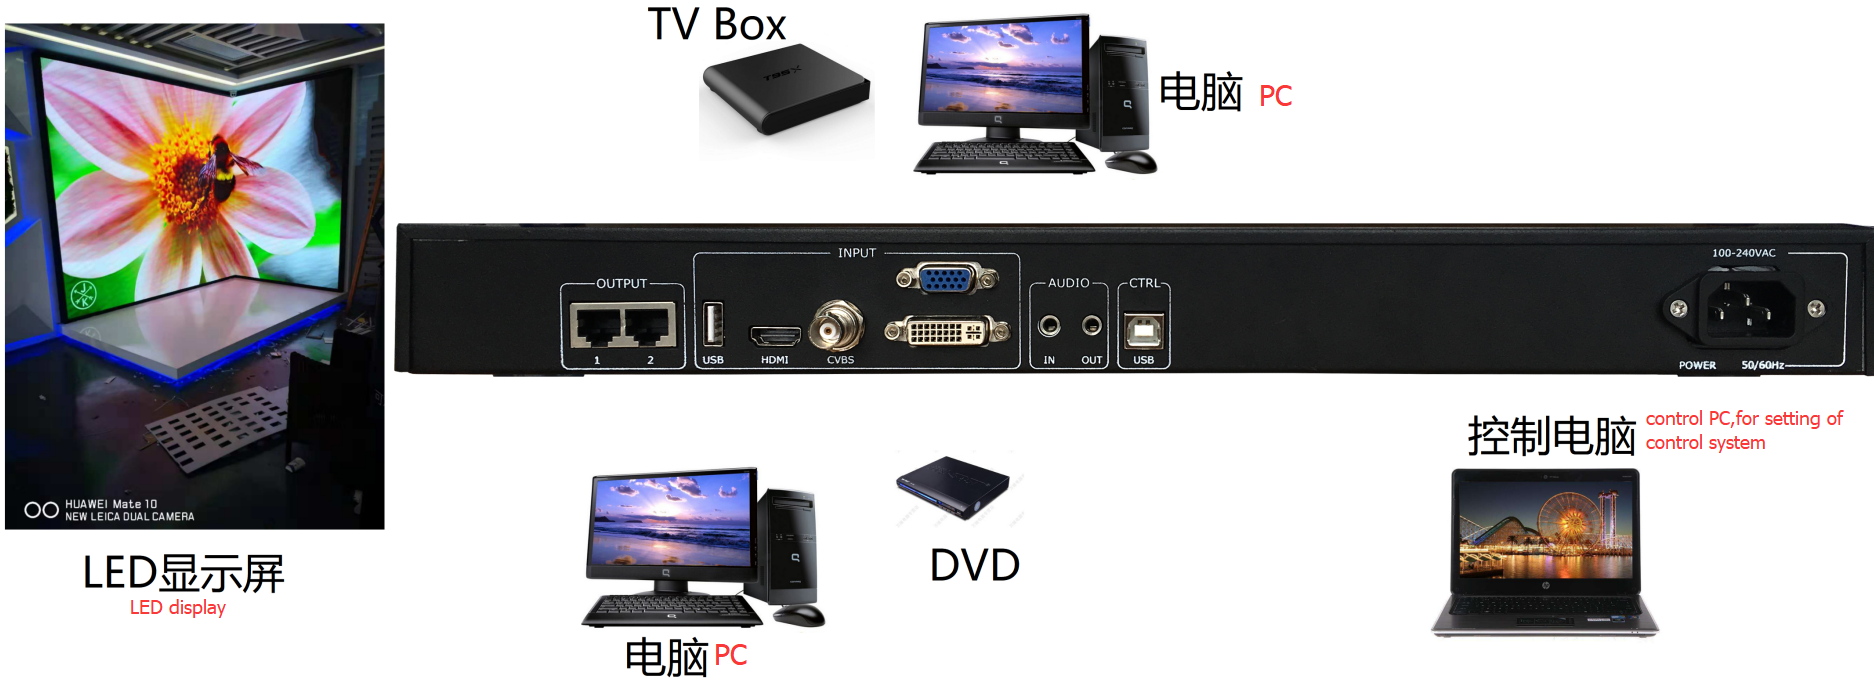
3). 5 channels digital and analog video input, USB playing video and picture files directly;
4). Audio input and output;
5). Integrated the function of sending card and two output Gigabit Network ports.
6). Key lock;
7). Preset saving and calling of scenarios, support saving 7 user templates.
Appearance
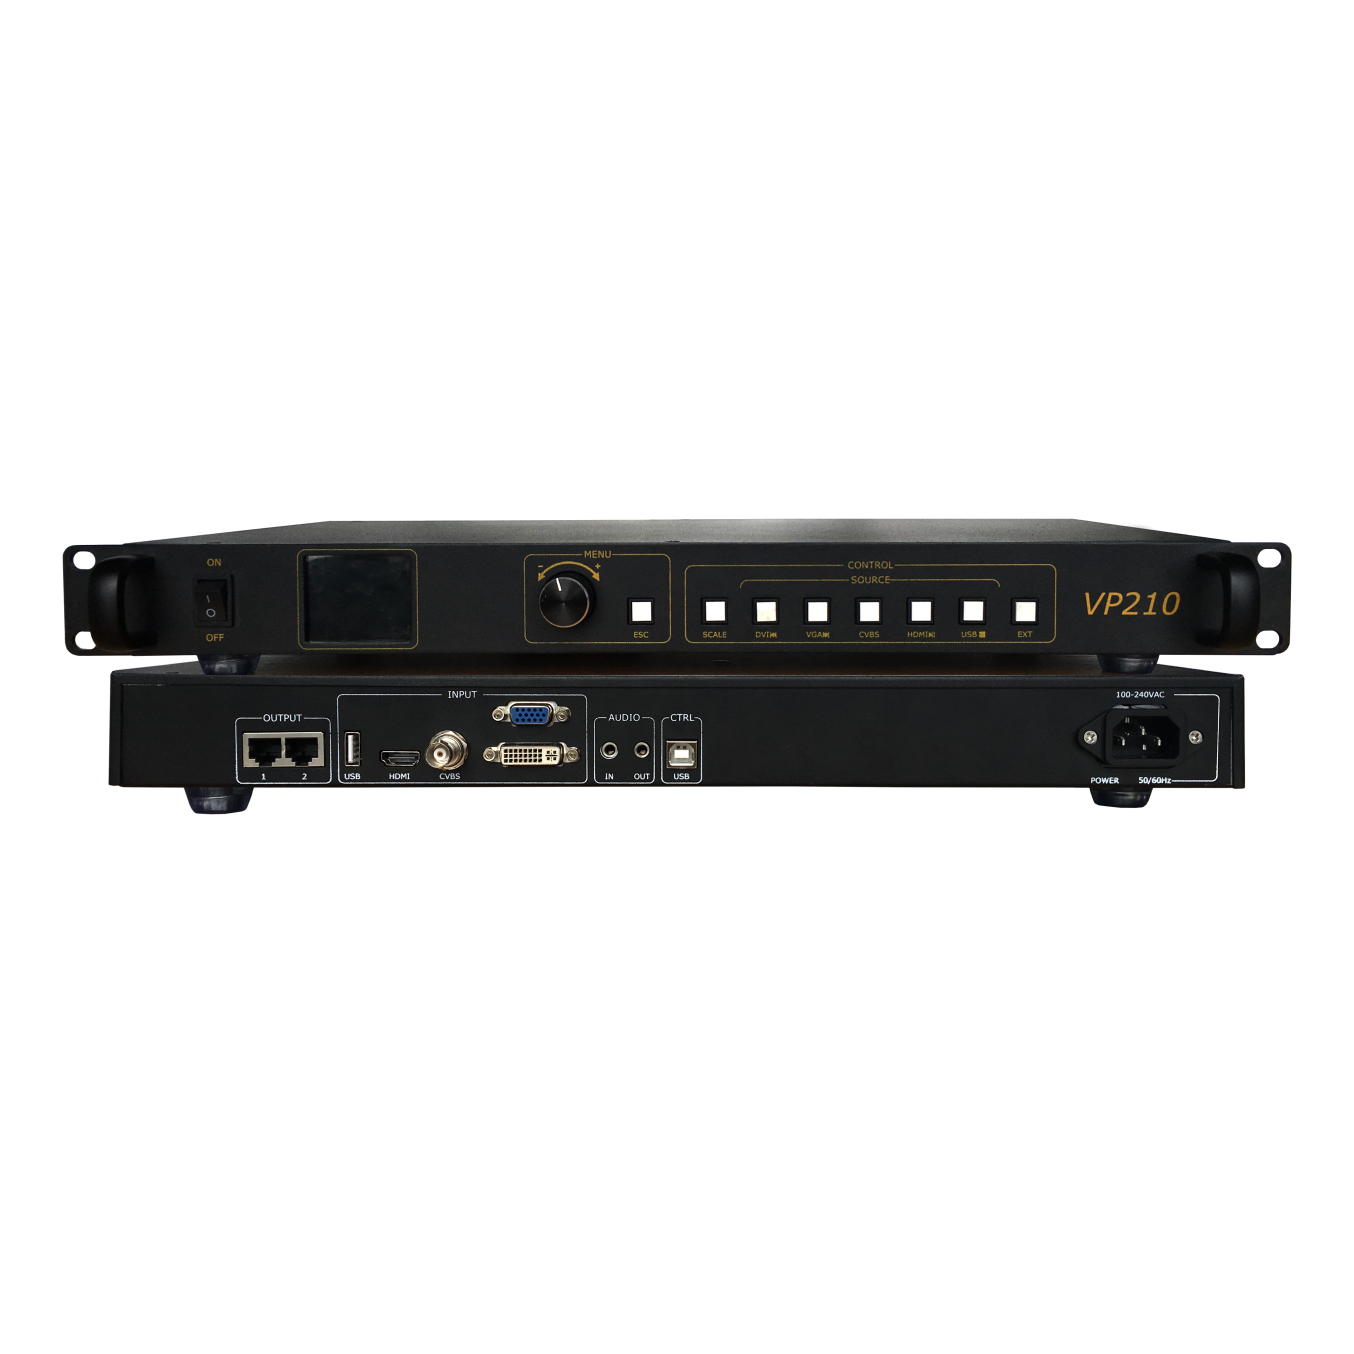
Front panel:
Rear Panel
| Rear panel | ||
| Port | Quantity | Function |
| USB(Type A) | 1 | Directly play videos pictures in the USB
Image file format:jpg、jpeg、png & bmp; Video file format:mp4、avi、mpg、mkv、mov、vob & rmvb; Video coding:MPEG4(MP4),MPEG_SD/HD,H.264(AVI,MKV),FLV |
| HDMI | 1 | Signal standard:HDMI1.3 Backward compatible
Resolution:VESA Standard,≤1920×1080p@60Hz |
| CVBS | 1 | Signal standard:PAL/NTSC 1Vpp±3db (0.7V Video+0.3v Sync ) 75 ohm
Resolution:480i,576i |
| VGA | 1 | Signal standard:R、 G、 B、 Hsync、 Vsync:0 to1Vpp±3dB (0.7V Video+0.3v Sync )
75 ohm black level:300mV Sync-tip:0V Resolution:VESA Standard,≤1920×1080p@60Hz |
| DVI | 1 | Signal standard:DVI1.0,HDMI1.3 Backward compatible
Resolution:VESA Standard,PC to 1920x1080,HD to 1080p |
| AUDIO | 2 | Audio input and output |
| Output Port | ||
| Port | Quantity | Function |
| LAN | 2 | 2-way network port output interface, connected to the acceptance card |
| Control interface | ||
| Port | Quantity | Function |
| Square USB(Type B) | 1 | Connect computer setting screen parameters |
| Power interface | 1 | 110-240VAC,50/60Hz
|
Product Operation
5.1 Operation steps
Step 1: Connect the display power to the screen.
Step 2: Connect a playable input source to the HD-VP210.
Step 3: Use the USB serial port to connect to the computer to setting screen parameters.
5.2 Input Source Switching
HD-VP210 supports simultaneous access to 5 types of signal sources, which can be switched to the input source to be played at any time according to requirements.
Switch input source
There are two ways to switch the input source. One is to quickly switch by pressing the “SOURCE” button on the front panel, and the other is to select through the input source of the menu interface.
Step 1: Press the knob to select “Input Settings → Input Source” to enter the input source interface.
Step 2: Turn the knob to select the input source.
Step 3: Press the knob to confirm that the currently selected input source is the input of the playback screen.
Set resolution
Step 1: Press the knob to select “Input Settings → Input Resolution” to enter the input resolution interface.
Step 2: Rotate the knob to select the desired resolution or select a custom resolution setting.
Step 3: After setting the resolution, press the knob to determine the resolution.
5.3 Zoom setting
HD-VP210 supports full screen zoom and point to point zoom modes
Full screen zoom
The VP210 adaptively zoom the current input resolution to full-screen play according to the LED display resolution in the configuration.
Step 1: Press the knob to enter the main menu, select “Zoom Mode” to enter the zoom mode interface;
Step 2: Press the knob to select the mode, then rotate the knob to switch between full screen and local;
Step 3: Press the knob to confirm the use of the “Full Screen or Local” zoom mode.
Point-to-point scaling
Point-to-point display, without scaling, the users can set the horizontal offset or vertical to display the area they want.
Step 1: Press the knob to enter the main menu, select “Zoom Mode” to enter the zoom mode interface;
Step 2: Rotate the knob to select "point to point";
Step 3: Press the knob to confirm the use of "point-to-point";
Step 4: Press the knob to enter the "point-to-point" setting interface
In the "point-to-point" settings interface, through the knob set "horizontal offset" and "vertical offset" to view the area you want to display.
5.4 Playing by U-disk
HD-VP210 supports directly play pictures or video files stored in a USB.
Step 1: Rotate the knob to “U disk setting”, press the knob to enter the U disk setting interface;
Step 2: Turn the knob to “Media Type” and press the knob to select the media type;
Step 3: Rotate the knob to select the type of media, support video and picture, select the media type and press the knob to confirm;
Step 4: Rotate the knob to “File Browse” to enter the U disk playlist, and the device will automatically read the set media file.
Step 5: Press ESC to exit the playlist setting option and enter the U disk play settings.
Step 6: Turn the knob to “Cycle Mode”, it support single loop or list loop.
When the media type is "picture", it also supports turning "picture effects" on and off and setting the picture switching interval duration.
Play Control
In the front panel input source area, press “USB” to switch to the USB input source, press the USB button again to enter the USB play control. After the USB play control is enabled, the HDMI, DVI, VGA and USB button lights are on, and the button corresponding multiplexing is enabled. Press ESC to exit playback control.
DVI:Play the previous file of the current file.
VGA:Play the next file of the current file.
HDMI:Play or pause.
USB■:Stop Play.
5.5 Picture quality adjustment
HD-VP210 support users manually adjust the image quality of the output screen, so that the color of the large screen display is more delicate and bright, and the display effect is improved. When adjusting the image quality, you need to adjust it while watching. There is no specific reference value.
Step 1: Press the knob to enter the main menu, rotate the knob to “Screen Settings”, and press the knob to enter the screen setting interface.
Step 2: Turn the knob to “Quality Adjustment” and press the knob to enter the image quality adjustment interface.
Step 3: Press the knob to enter the “Image Quality” interface to adjust “Brightness”, “Contrast”, “Saturation”, “Hue” and “Sharpness”;
Step 4: Turn the knob to select the parameter to be adjusted, and press the knob to confirm the parameter selection.
Step 5: Rotate the knob to adjust the parameter value. During the adjustment process, you can view the screen display effect in real time.
Step 6: Press the knob to apply the currently set value;
Step 7: Press ESC to exit the current setting interface.
Step 8: Turn the knob to “Color Temperature”, adjust the color temperature of the screen, view the screen display in real time, and press the knob to confirm;
Step 9: Turn the knob to “Restore Default” and press the knob to restore the adjusted image quality to the default value.
5.6 Template setting
After debugging the video processor settings, you can save the parameters of this setup as a template.
The template mainly saves the following parameters:
Source information: store the current input source type;
Window information: save current window size, window position, zoom mode, input intercept, screen offset information;
Audio information: save audio status, audio size;
U-disk setting: save the loop mode, media type, picture effect and picture switching interval parameters of U-disk play;
Each time changing a parameter, we can save it to the template. The HD-VP210 supports up to 7 user templates.
Template save
Step 1: After saved the parameters, select “Template Settings” on the main menu interface and press the knob to enter the template setting interface.
Step 2: Rotate the knob to select the template and press the knob to enter the template operation interface.
Step 3: Enter the template operation interface with three options: Save, Load, and Delete.
Save - Rotate the knob to select "Save", press the knob to save the currently edited parameters to the selected template. If the selected template has been saved, replace the last saved template;
Load - rotate the knob to select "Load", press the knob, the device loads the information saved by the current template;
Delete - Rotate the knob to select "Delete" and press the knob to delete the currently saved template information.
Products categories
-

Phone
-

E-mail
-

Whatsapp
-

WeChat
Judy

-

WhatAapp
Judy

-

Top


